
Media Library
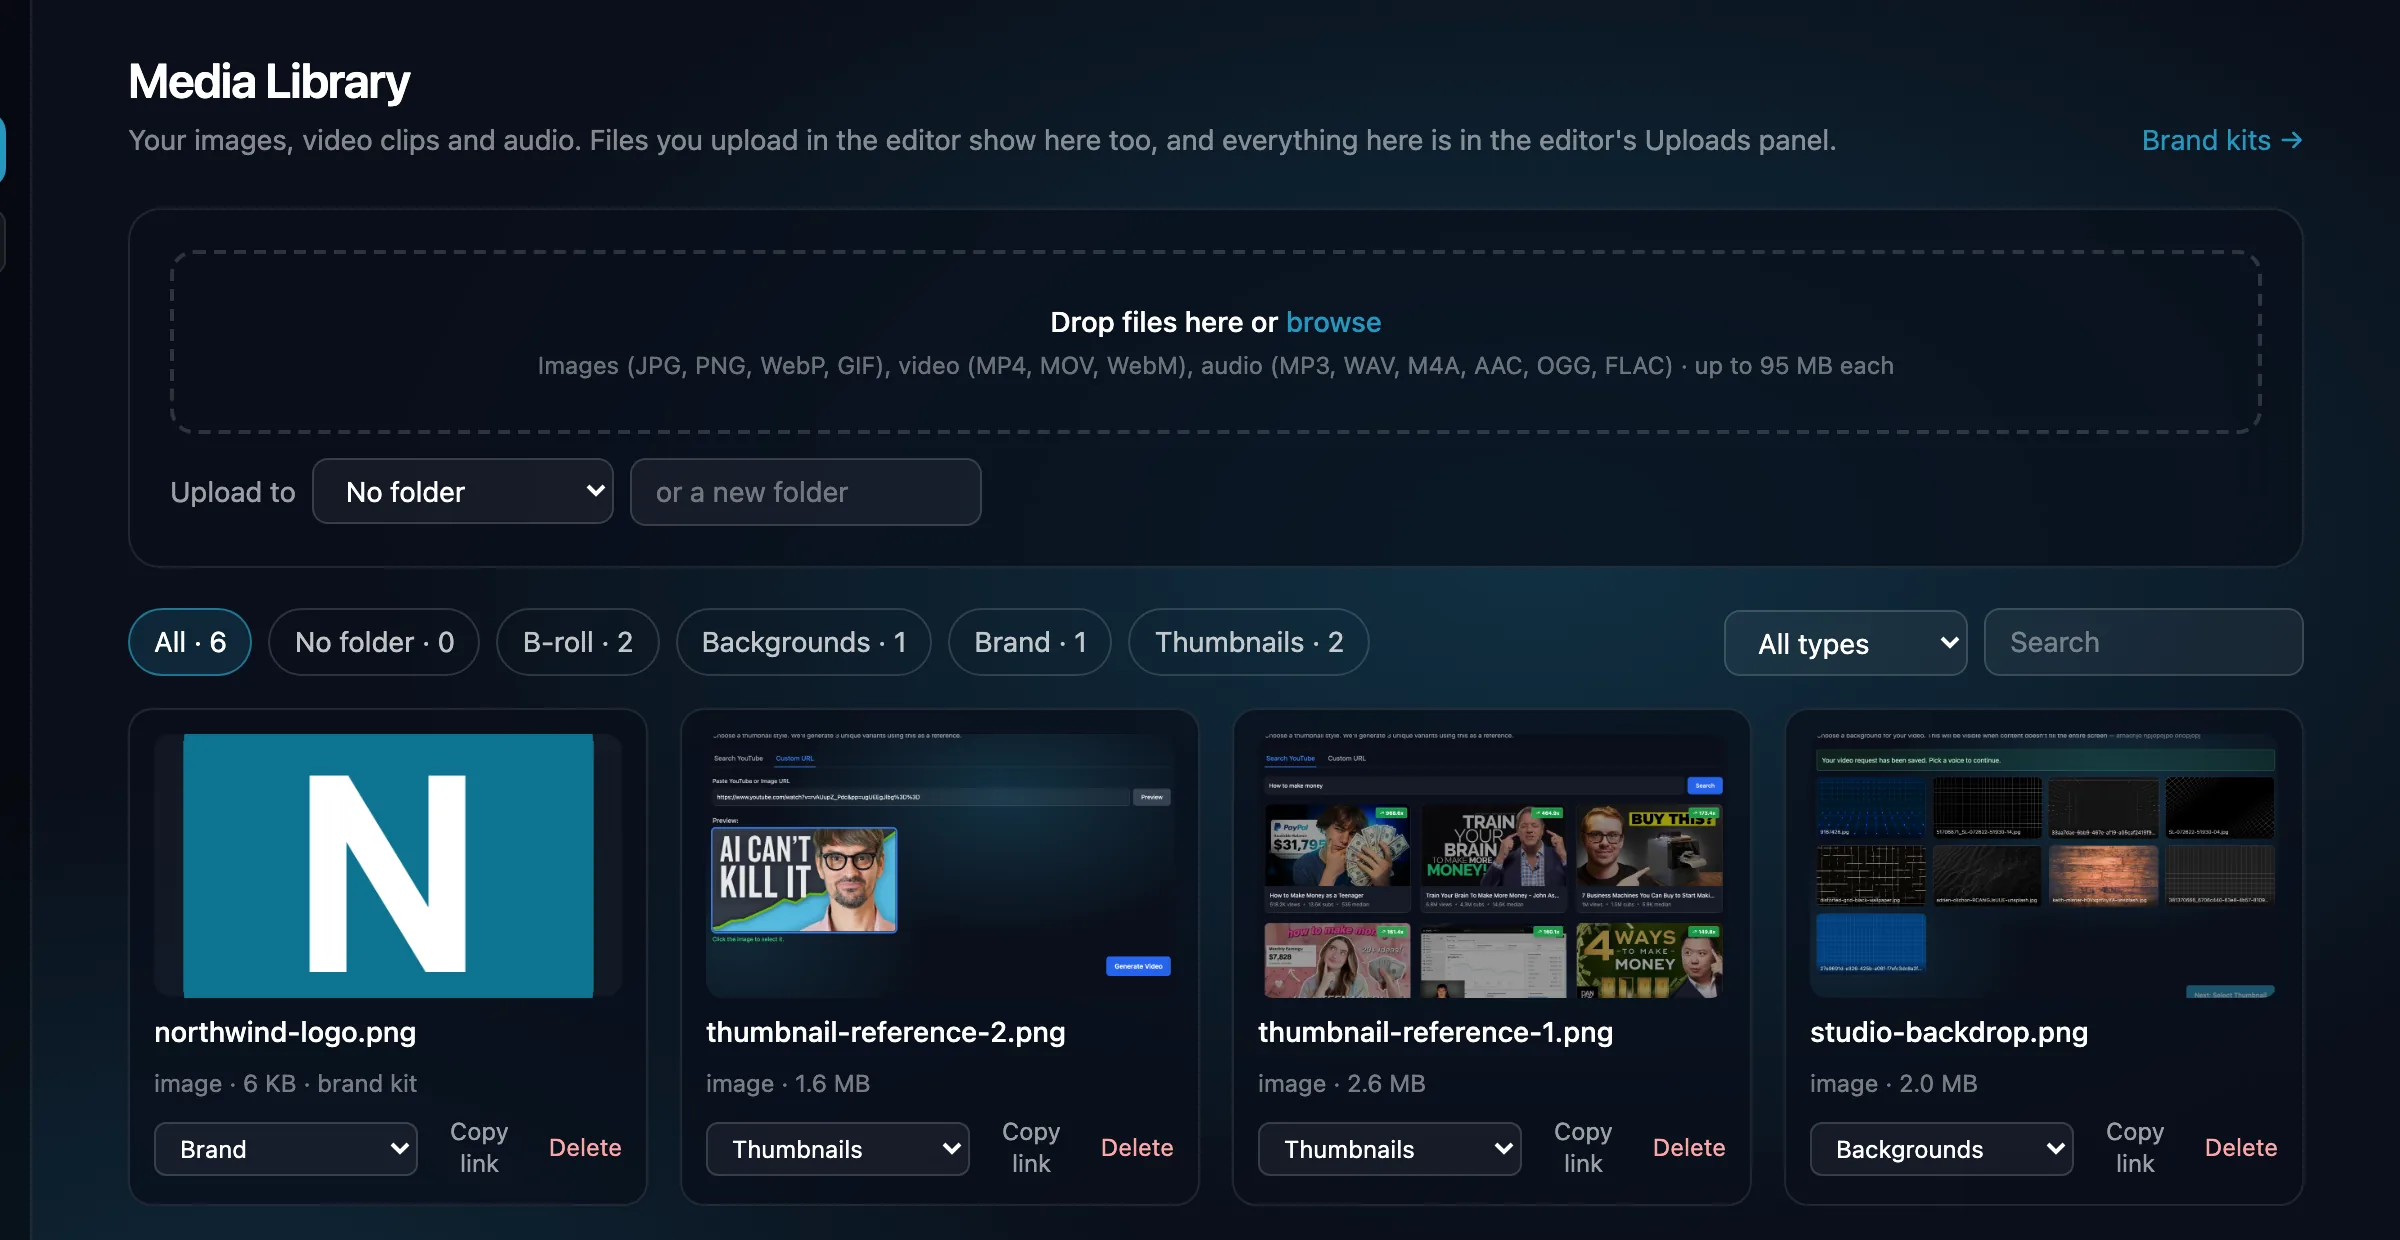
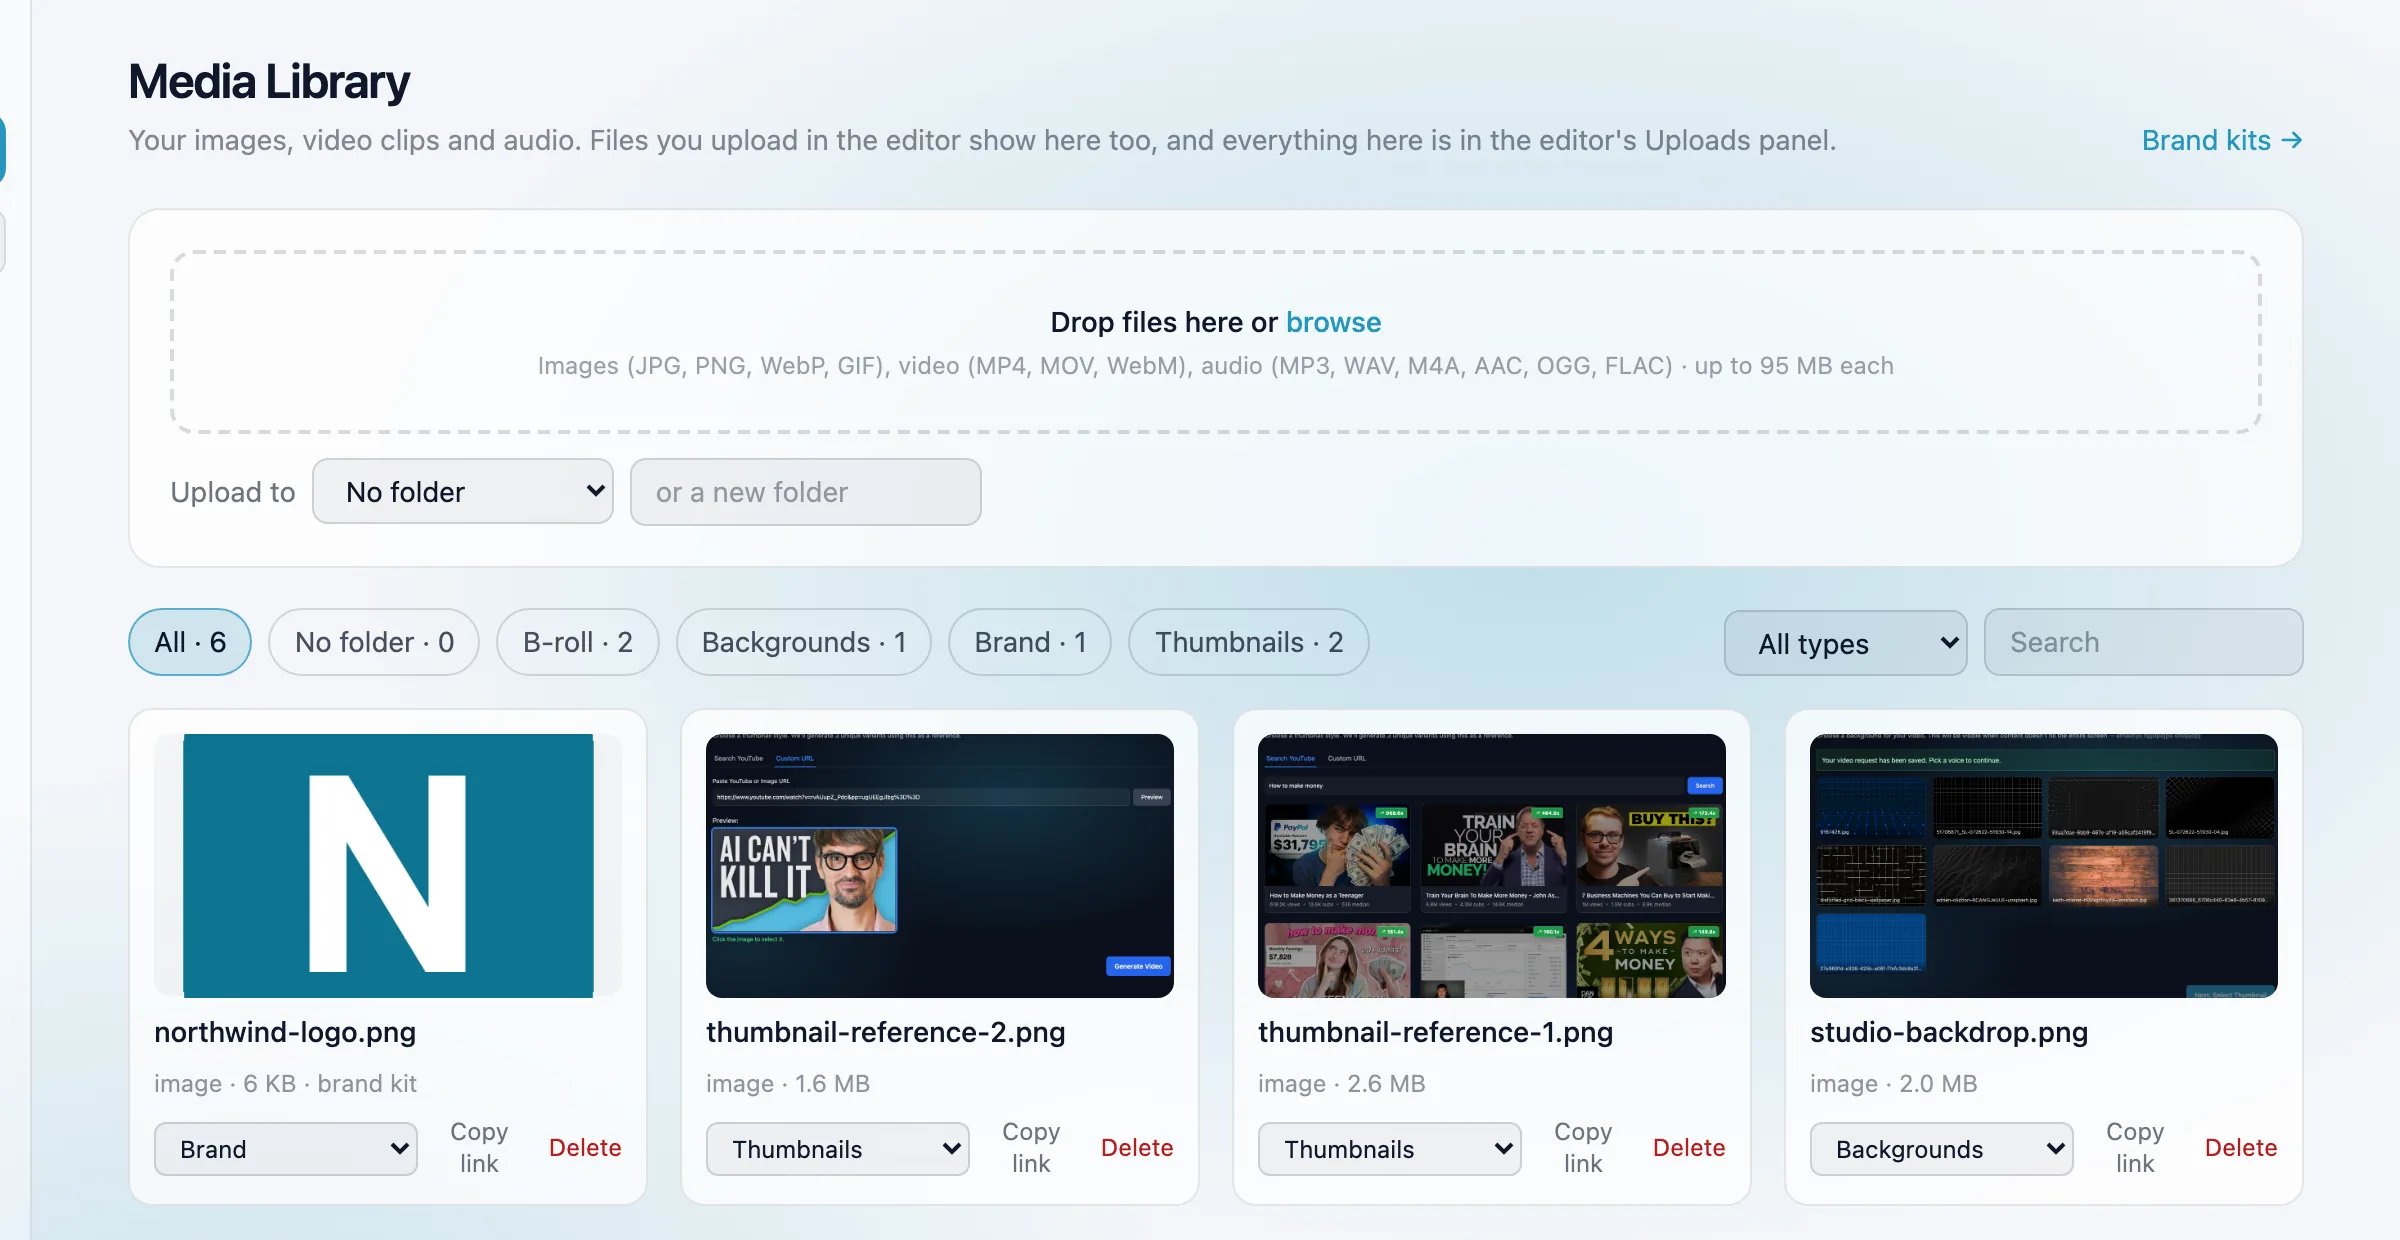
The media library keeps your own images, video clips and audio. It shares one store with the editor's Uploads panel: a file uploaded in the editor appears here, and everything here is in the editor. Open Media Library from the app sidebar.
Upload
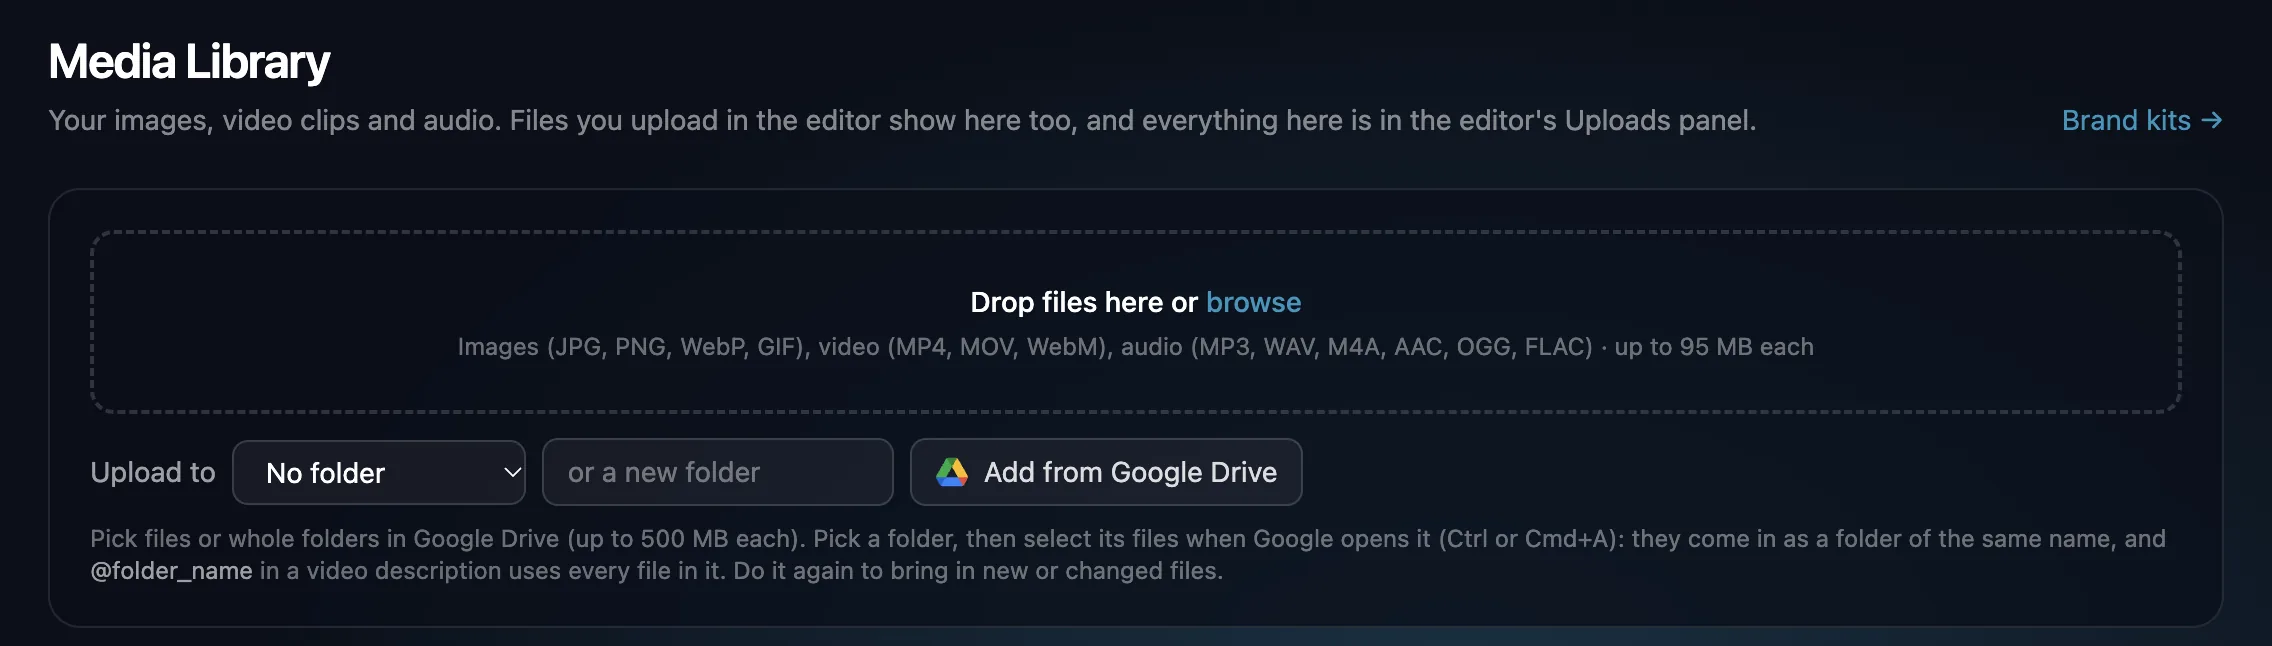
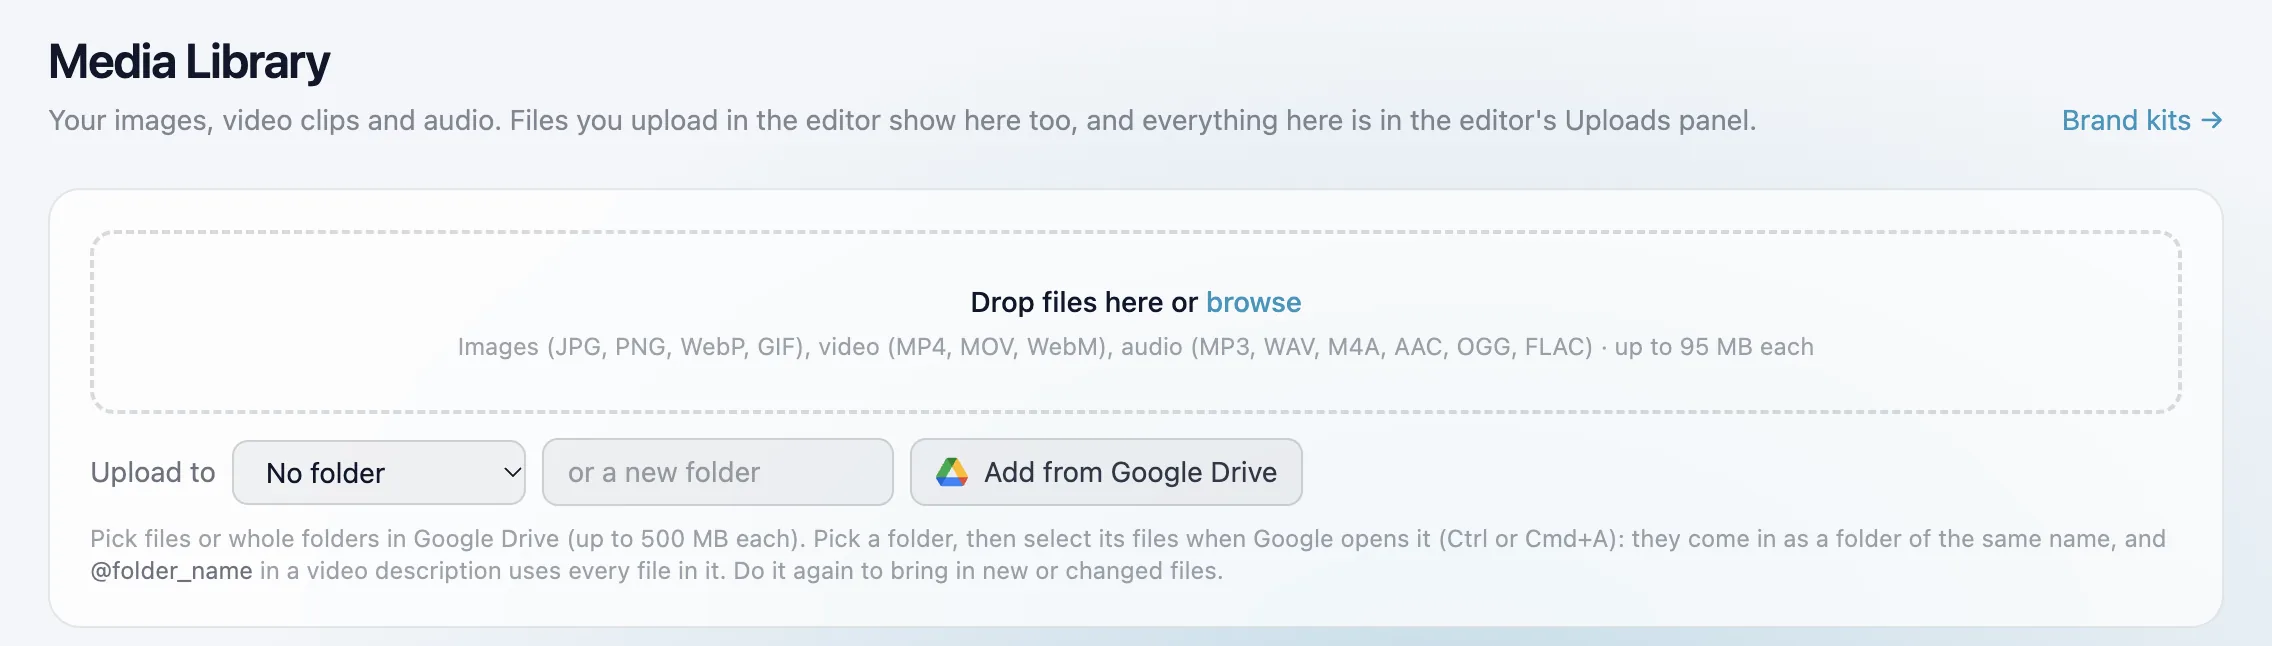
Drop files on the upload area or click browse. You can upload several at once. Choose a folder first, or type a new folder name, to file them as they upload.
- Images: JPG, PNG, WebP, GIF
- Video: MP4, MOV, WebM
- Audio: MP3, WAV, M4A, AAC, OGG, FLAC
- Up to 95 MB per file. For a longer voiceover, use the voiceover upload on Create Video, which takes up to 200 MB.
Add from Google Drive
Bring images, clips and audio straight from Google Drive, one file at a time or a whole folder. Cliptude copies each file into your library, so your videos keep working even if you later move, rename or delete it in Drive.
Why Google asks you to pick twice
Cliptude never browses your Drive. Google only shares the exact items you select in its window, and picking a folder shares the folder, not the files inside it. So when you pick a folder, Cliptude opens it for you and you select its files in one go. That second pick is what lets the files through.
@story_photosStep by step
-
Click Add from Google Drive (1). To put the files in a folder of your own, choose it in Upload to first; a picked Drive folder always comes in under its own name. The first time, Google asks you to sign in and to let Cliptude "see, edit, create and delete only the specific Google Drive files you use with this app". That is the narrowest access Google offers: it covers only what you select. If nothing opens, allow pop-ups for cliptude.com.
-
Pick files, a folder, or both, then click Select. Google's window lists your Drive and, on the second tab, your shared drives. Click one item, or hold Ctrl/Cmd to pick several.
Pick files or folders for your media libraryGoogle DriveShared drivesStory photosPodcast audioBrand assetsRaw footageSelectCancelIllustration of Google's window. Yours shows your own Drive. -
If you picked a folder, Google opens it. Press Ctrl+A (Windows) or Cmd+A (Mac) to select every file, or click the ones you want, then click Select. Only images, video, audio and subfolders are listed. Double-click a subfolder to look inside it, or select it with the files: it comes in as a library folder of its own name, and Google opens it next so you can select its files too. Closing this window brings in nothing from that folder.
Select the files in Story photos (Ctrl or Cmd+A selects all), then click Select city-aerial.jpg
 cargo-ship.jpg
 new-york-skyline.jpg
 desert-dunes.jpg
 paris-map.jpg
 fighter-jet.jpgSelectCancel6 items selected
Illustration of Google's second window, opened inside the folder you picked. -
Cliptude copies the files and counts them off next to the button (1). Keep the tab open until it says Added … from Google Drive.
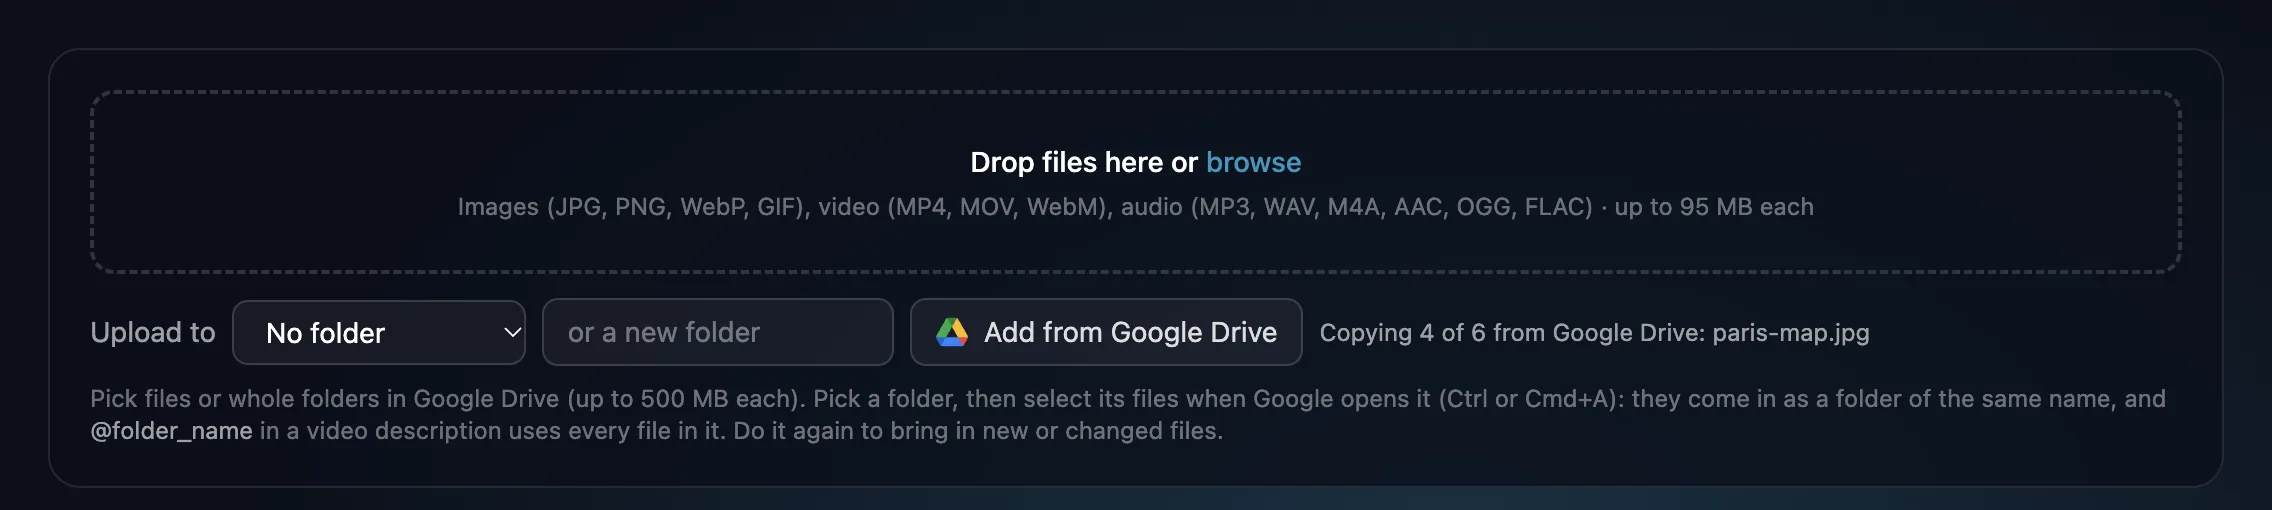
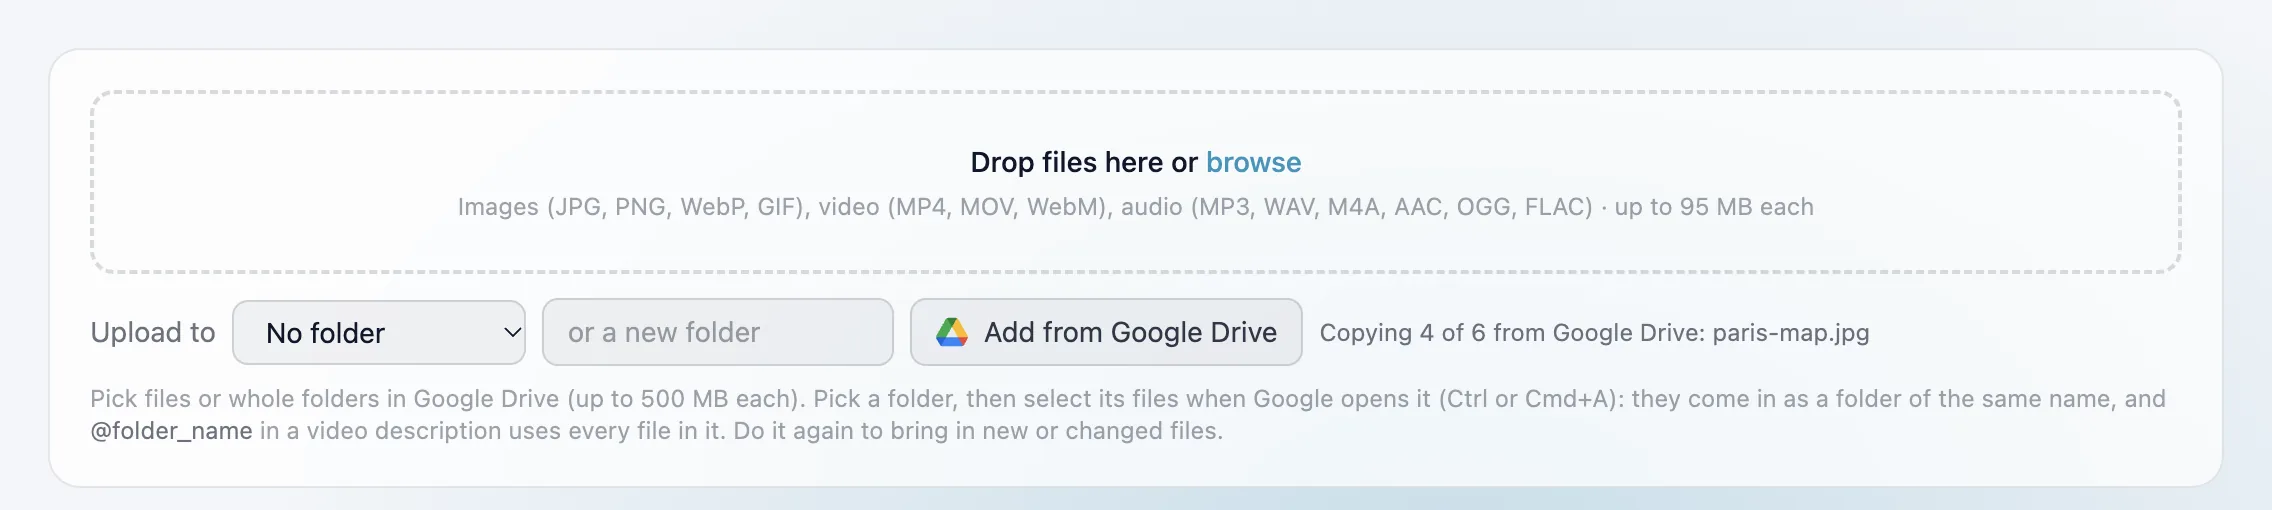
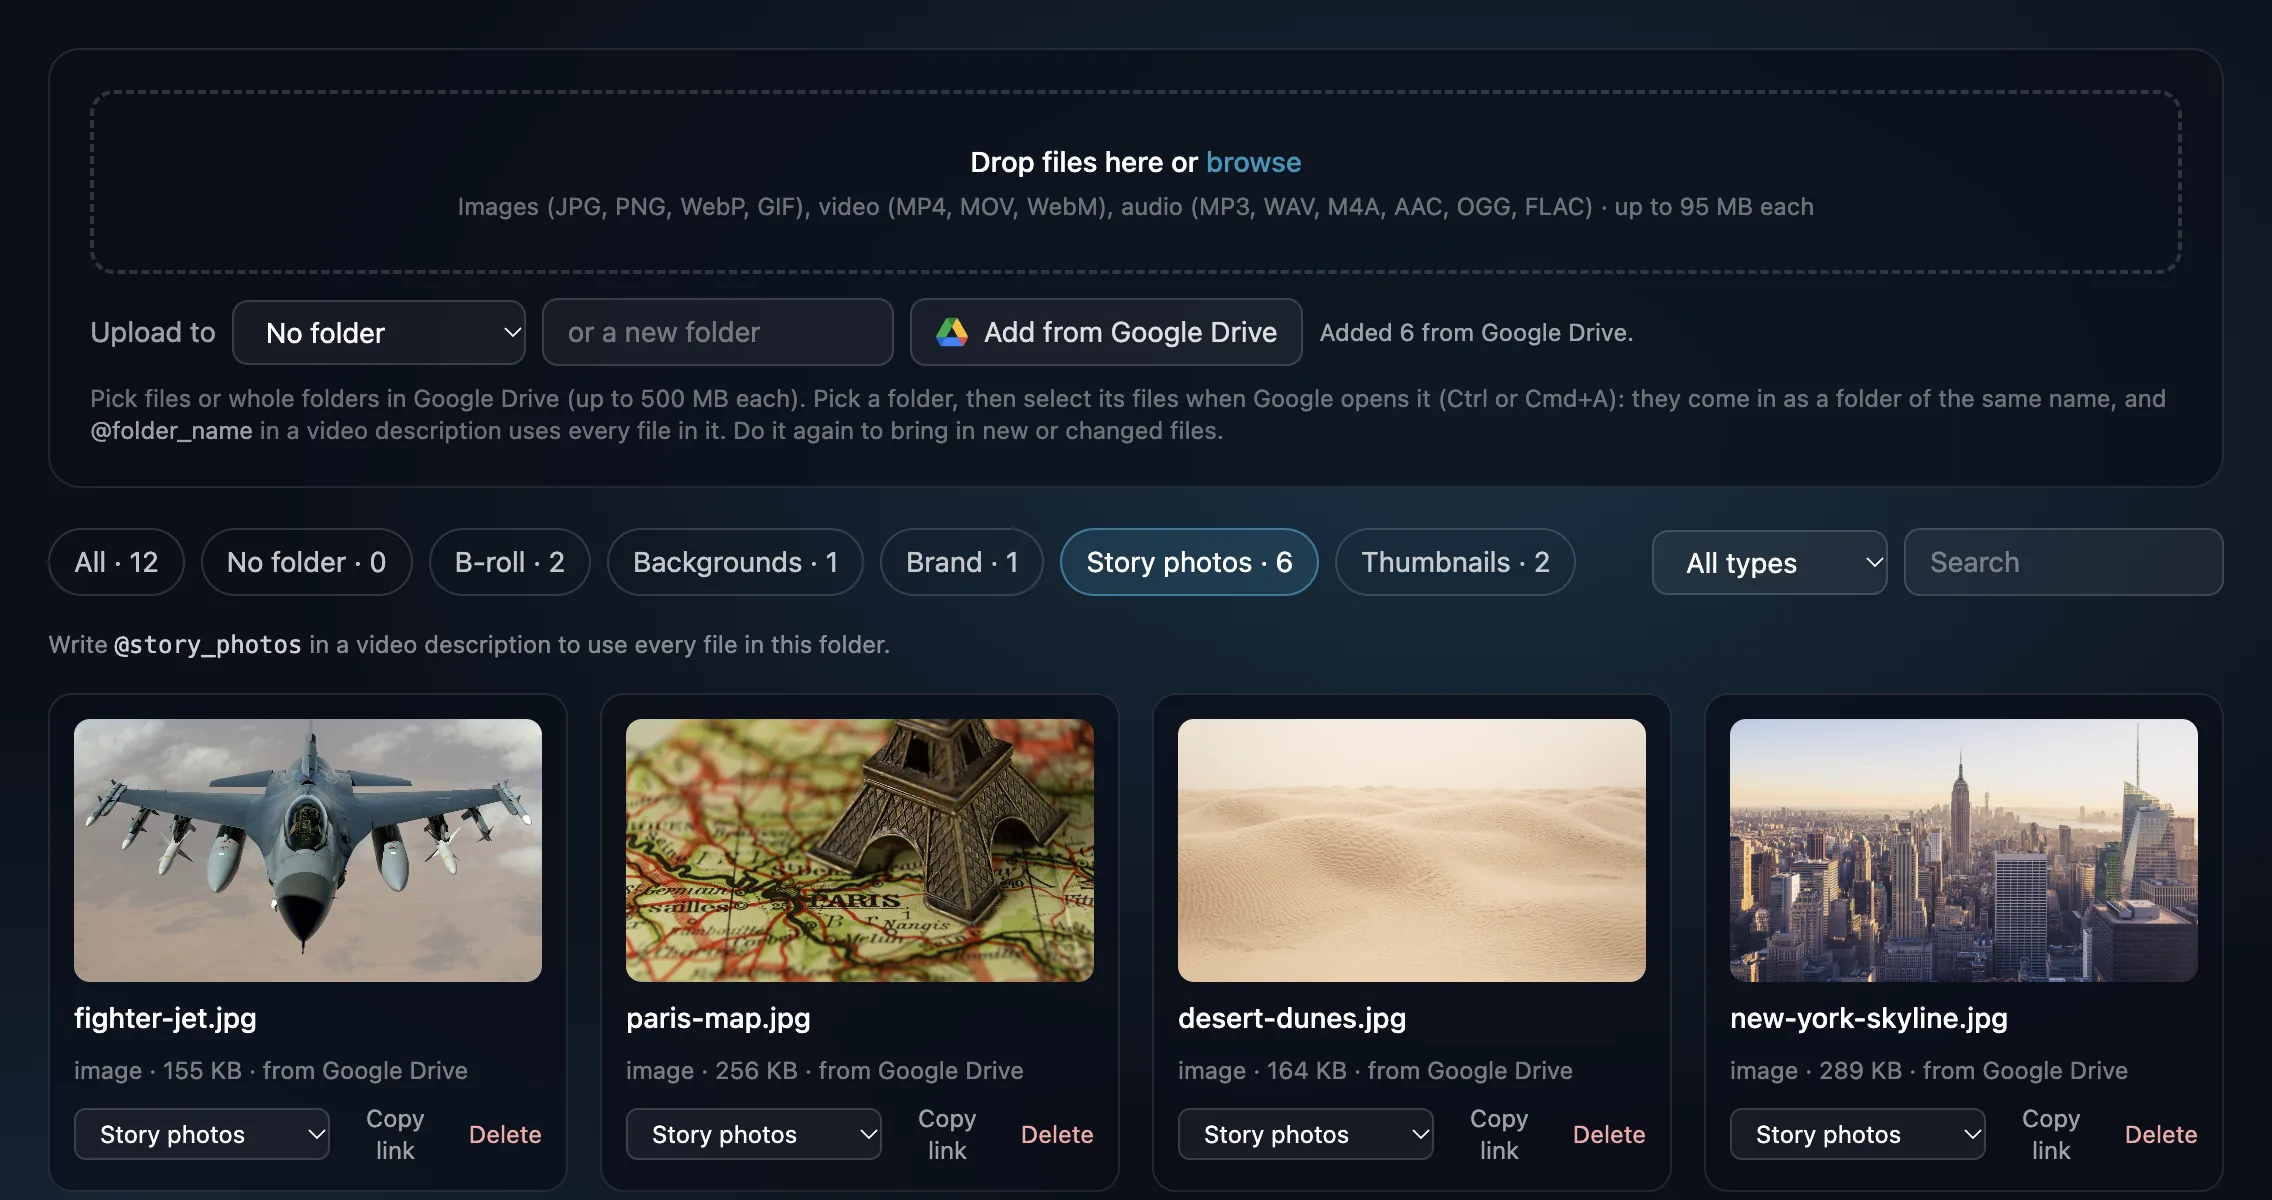
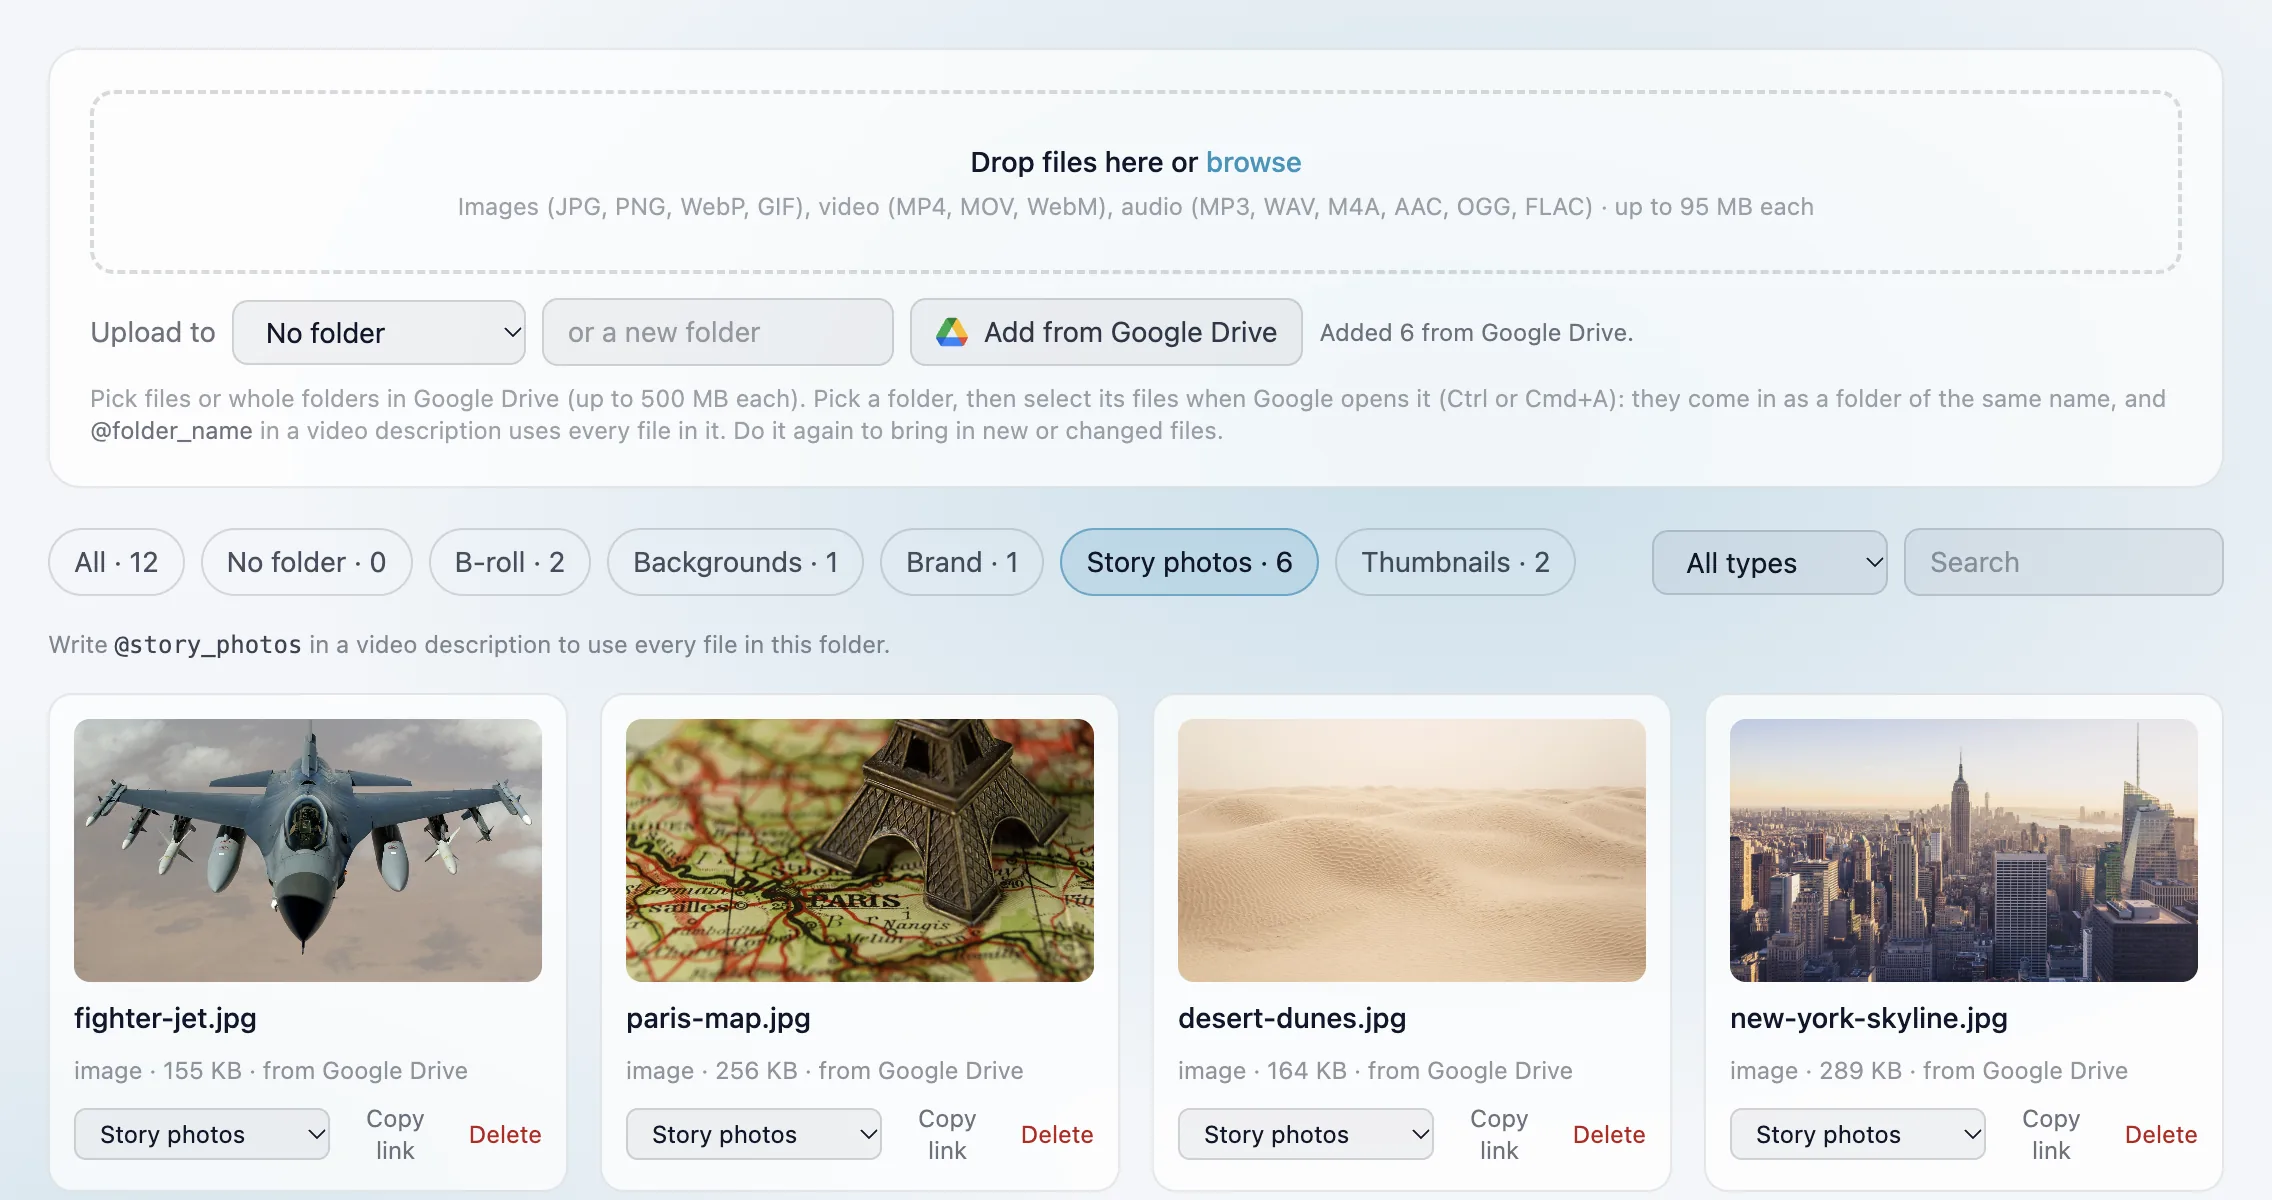
The files land in a folder with the Drive folder's name (1), marked from Google Drive. Click the folder to see the tag that uses all of them (2).
-
Use them in a video. On Create Video, type
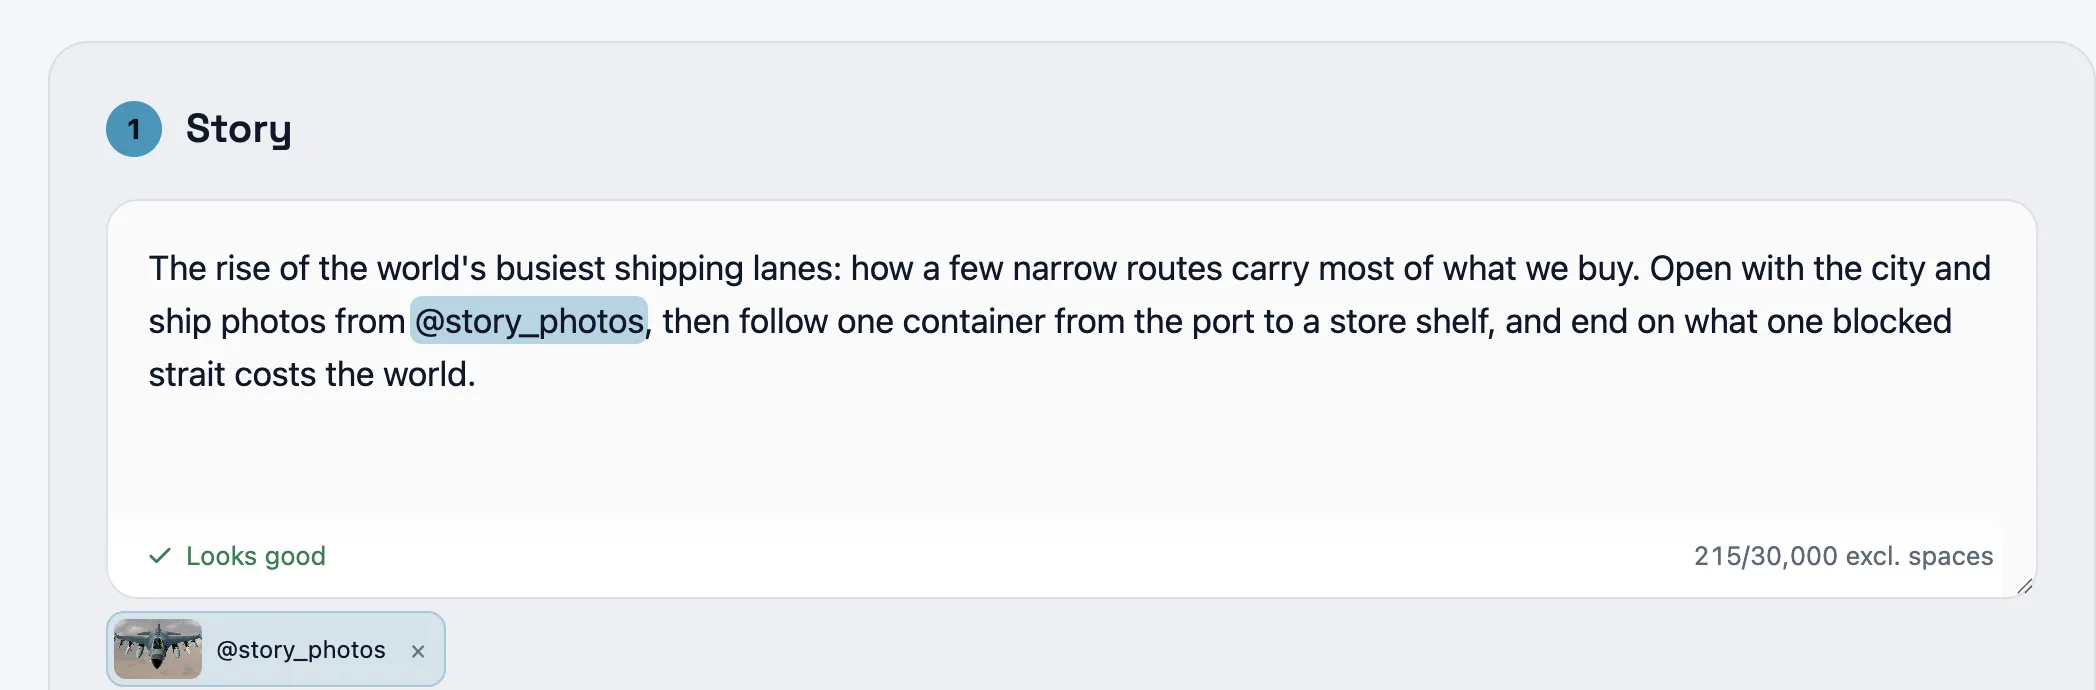
@in the description and pick the folder (@story_photos, every file in it) or a single file (@paris_map). Say where they go, and the video uses your photos on those shots instead of searching.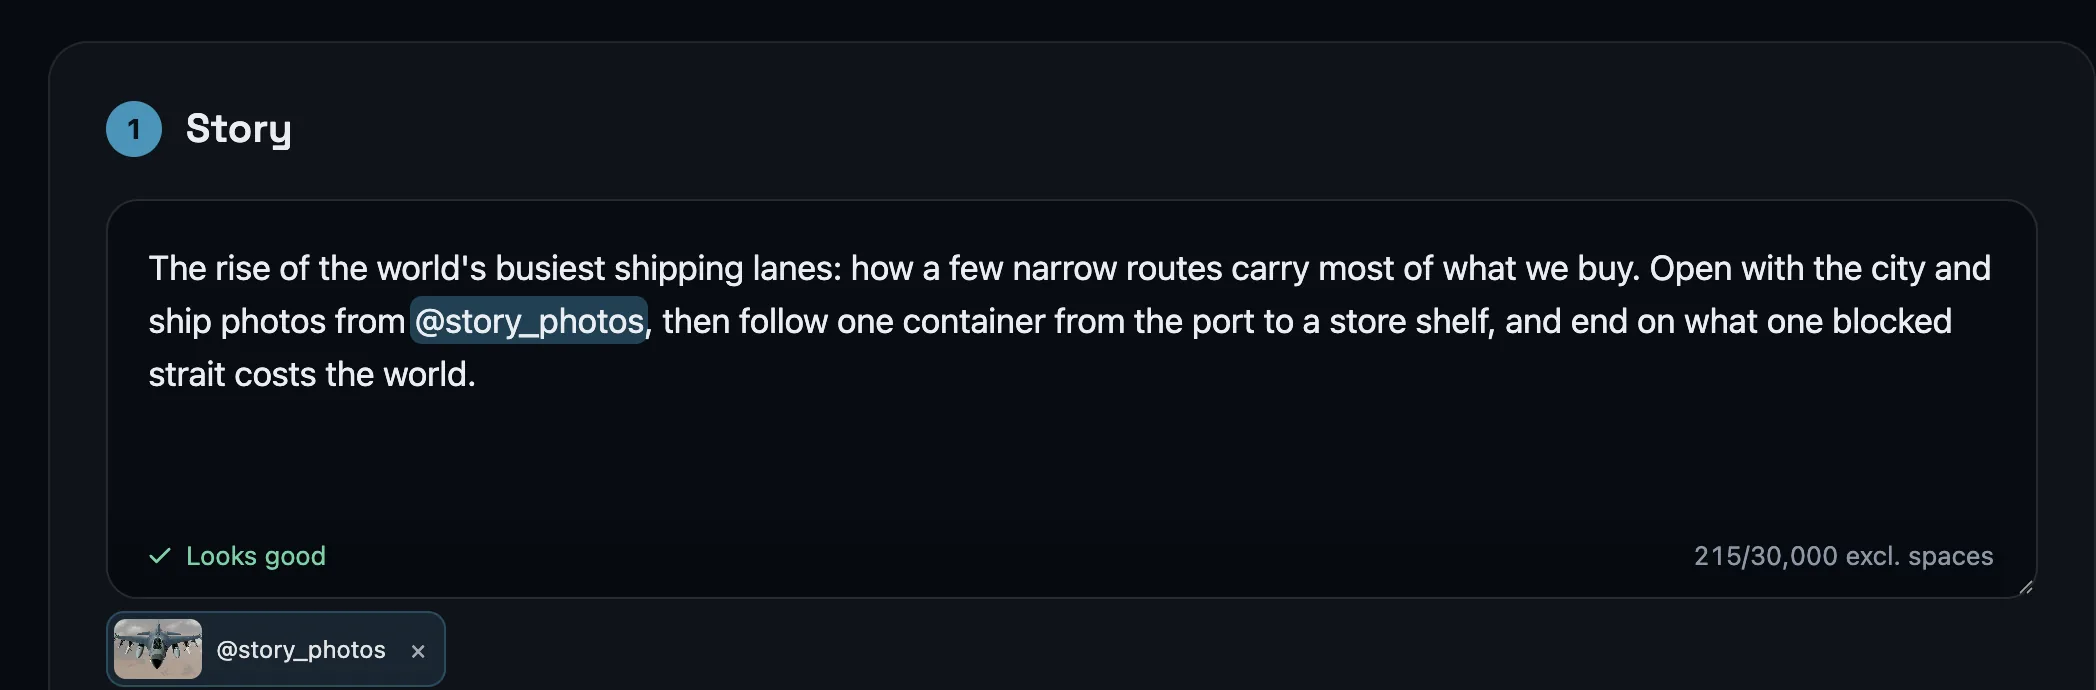
Good to know
- Files: images (JPG, PNG, WebP, GIF), video (MP4, MOV, WebM) and audio (MP3, WAV, M4A, AAC, OGG, FLAC), up to 500 MB each and 200 per folder. Google Docs, Sheets and other files are left out.
- Subfolders are not brought in automatically. Select them in the folder's window (step 3), or pick them on their own; each becomes a library folder of its own name.
- Audio: say what a tagged audio file is for: "@theme_song is the background music" or "@intro_take is the voiceover". Without that, it is not used.
- Updating: pick the same files again. Unchanged files are skipped; a file changed in Drive comes in as a new copy, and the old copy stays until you delete it.
- Privacy: Cliptude can open only the files you select, and only while you are importing. To remove its access, go to Google Account, Third-party connections. Files already copied stay in your library until you delete them.
- AI agents: agents cannot reach your Drive. Add the files here first; then
list_mediaand@tagswork for them like any other upload.
If something goes wrong
Organise
Filter by folder with the chips above the files, by type with All types, or search by name. Click a file's name to rename it, use its folder menu to move it, Copy link to copy its address, and Delete (click twice) to remove it everywhere. Files you uploaded in the editor before the library existed appear the first time you open it, marked from the editor.
Use your files
- @mentions: on Create Video, type
@in the description or the visual instructions and pick a file. It goes in as@file_name(the file name in lower case, spaces as_, no extension). Say what it shows: "Whenever the founder is named, show @founder_photo" and the video uses your photo on those shots instead of searching. You can tag your avatars the same way (@maya): on an Avatar Video, one tagged avatar ("@maya presents the intro") is the presenter. Mentions in a custom script are not used, because a script is read aloud word for word. - Editor: every library file is in the editor's Uploads panel, ready to drop on the timeline.
- Brand kits: pick a library image as a channel's logo on its brand kit.
- AI agents: over MCP,
list_mediareturns each file's address (filter byfolderorkind), and an agent can use it for a shot or a graphic when you ask for your own footage or photos.
Sponsored segment
A video from your library can play in the middle of your video as a sponsored segment, with its own sound and picture: the narration pauses, the sponsor plays full screen, then the narration carries on.
- Tag it: tag the clip in the description and press Sponsor on its chip, or write the sentence yourself: "Sponsor: @nordvpn_ad."
- Where it goes: say it in the same sentence: "at 2:00", "after the intro", "halfway", "before chapter 3", "before the ending", "at the start" or "at the end". If you leave it out, Cliptude puts it after the hook and the first chapter, about 60 to 120 seconds in on longer videos, as YouTube creators do. It always starts at the end of a sentence, never in the middle of one.
- How it plays: at its own sound, set to the same loudness as your narration. The background music fades out for it. Your Look's colour grade and effects are not applied to it. A clip that is not 16:9 gets black bars and is never cropped. Captions are never shown over it.
- Cards: a short "A word from our sponsor" card before it and a "Back to the story" card after it, in your Look's colours. Press Cards on on the chip to turn them off (or add "no bumpers" to the sentence).
- Limits: up to 3 minutes per clip and two sponsored segments per video. A clip without sound plays silent, so Cliptude asks you first.
- Credits: your video gets longer by the clip and its cards. Those seconds cost the render-only rate, which is much lower than a generated minute, and the estimate shows the amount.
- In the editor: the sponsor is on its own locked Sponsored segment track at the top. To move it or take it out, an AI agent connected over MCP uses
edit_timelinewithmove_sponsororremove_sponsor. The narration closes up or opens again around it.